Thank you for choosing us and we hope that you will have an unforgettable experience while using our ArtVisual studio remotely.
Let’s take step by step:
1. 24 hours before shooting starts please let us know your light setup and background preferences. 2. Download the free version of TeamViewer from teamviewer.com 3. Download and save the setup.exe. Once downloaded, click on the .exe icon and follow the instructions. 4. You’ll see a new window with your ID and password. On the right side it will ask your “Partner ID”.
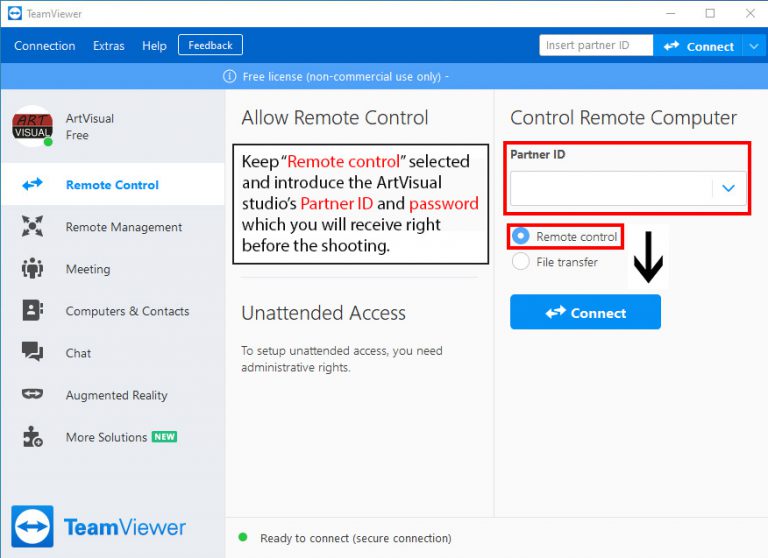
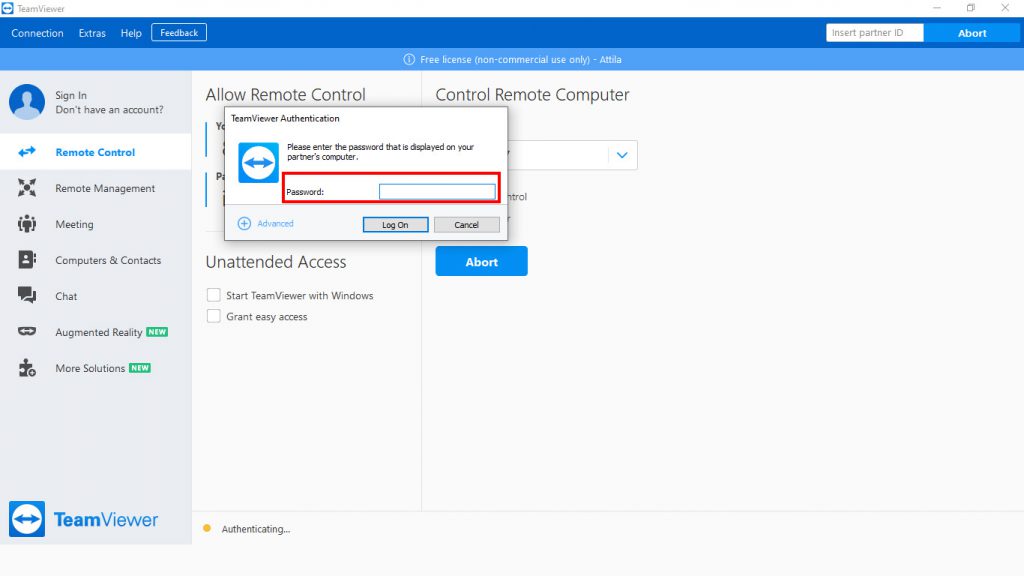
5. Keep “Remote control” selected and introduce the ArtVisual studio’s Partner ID and password which you will receive right before the shooting. 6. Once you click “Connect”, another pop-up window will ask for the ArtVisual studio’s password.
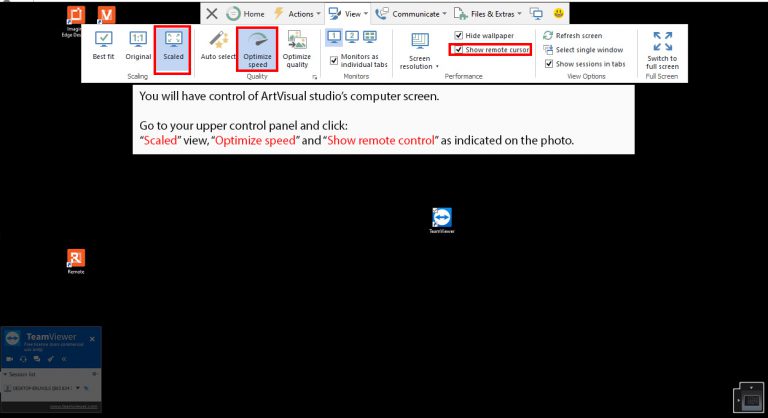
7. You will have control of ArtVisual studio’s computer screen. We highly recommend closing all other browsers to reduce confusion and increase efficiency. 8. Go to your upper control panel and click “Scaled” view, “Optimize speed” and “Show remote control” as indicated on the photo below:
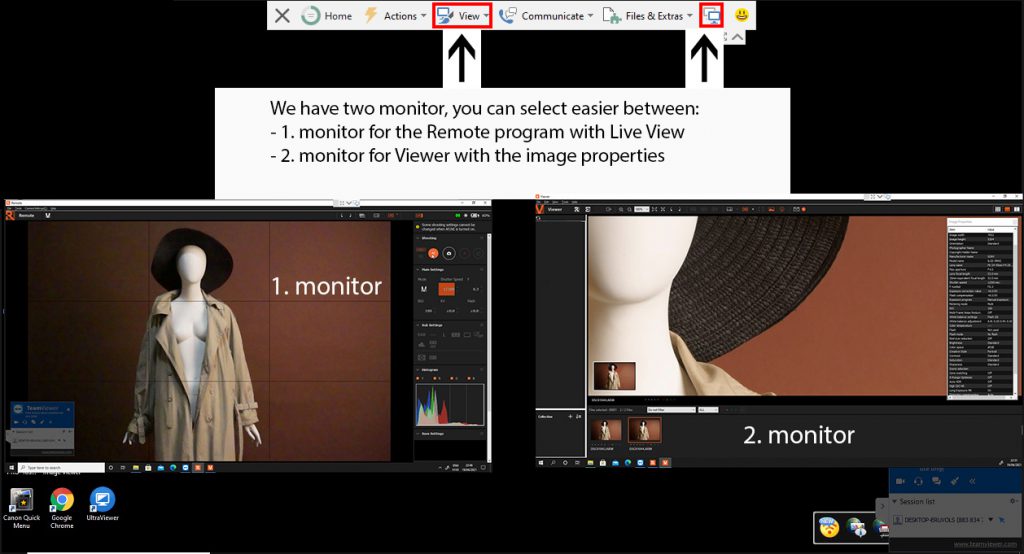
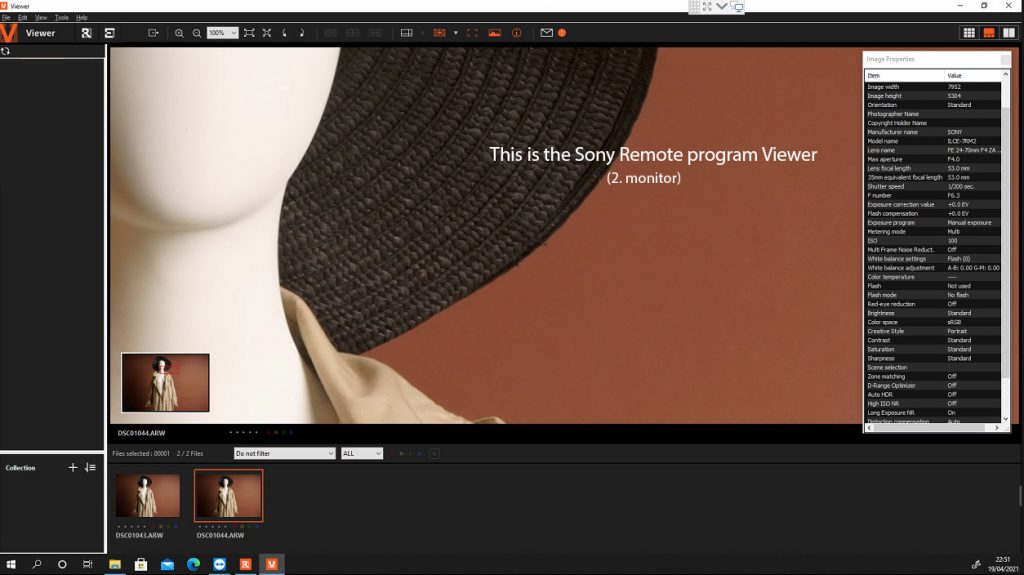
9. You can select easier between the two monitors: – 1. monitor for the Remote program with Live View – 2. monitor for Viewer with the image properties
11. The photos made by you will be safe to ArtVisual studio’s computer and we will send you the raw files through Dropbox or WeTransfer. This could take a while depending on how many files there are.